Scripting with GitHub CLI
It has been a year since we’ve launched the first public release of GitHub CLI. Since, we have added functionality to manage your repositories, comment on issues, enable auto-merge for…

It has been a year since we’ve launched the first public release of GitHub CLI. Since, we have added functionality to manage your repositories, comment on issues, enable auto-merge for pull requests, securely configure secret values for GitHub Actions, and more. Where command-line tools really shine, however, is in their ability to be combined with other utilities and embedded in scripts to capture workflows that may be specific to you or your team. So to celebrate one year with GitHub CLI, let’s explore how we could customize and build on top of the gh command.
Terminal emulators, shells, and command-line tools are ubiquitous because they are built on the idea that plain text is the universal interface, easily passed between processes via input/output streams. In the following examples, we will use GitHub CLI 1.7+ to capture different GitHub workflows by leveraging these concepts.
Make ghyour own
The most basic way to start extending command-line tools is to explore their customization options. For example, to avoid typing long command names and their flags in full, we can define aliases for them:
# before:
$ gh issue view --comments https://github.com/cli/cli/issues/1055

# configure an alias:
$ gh alias set iv 'issue view --comments'

# after:
$ gh iv https://github.com/cli/cli/issues/1055
Another option that I like to set is to define a terminal pager. If you run the issue view command above, you might notice that, due to the size of the conversation thread, the output of the command fills several screens, and that in order to start reading from the top we first need to scroll back. To help you avoid having to do this every time for long output, gh respects the PAGER environment variable setting by passing all output through the specified pager utility:
$ PAGER=less gh issue view -c https://github.com/cli/cli/issues/1055
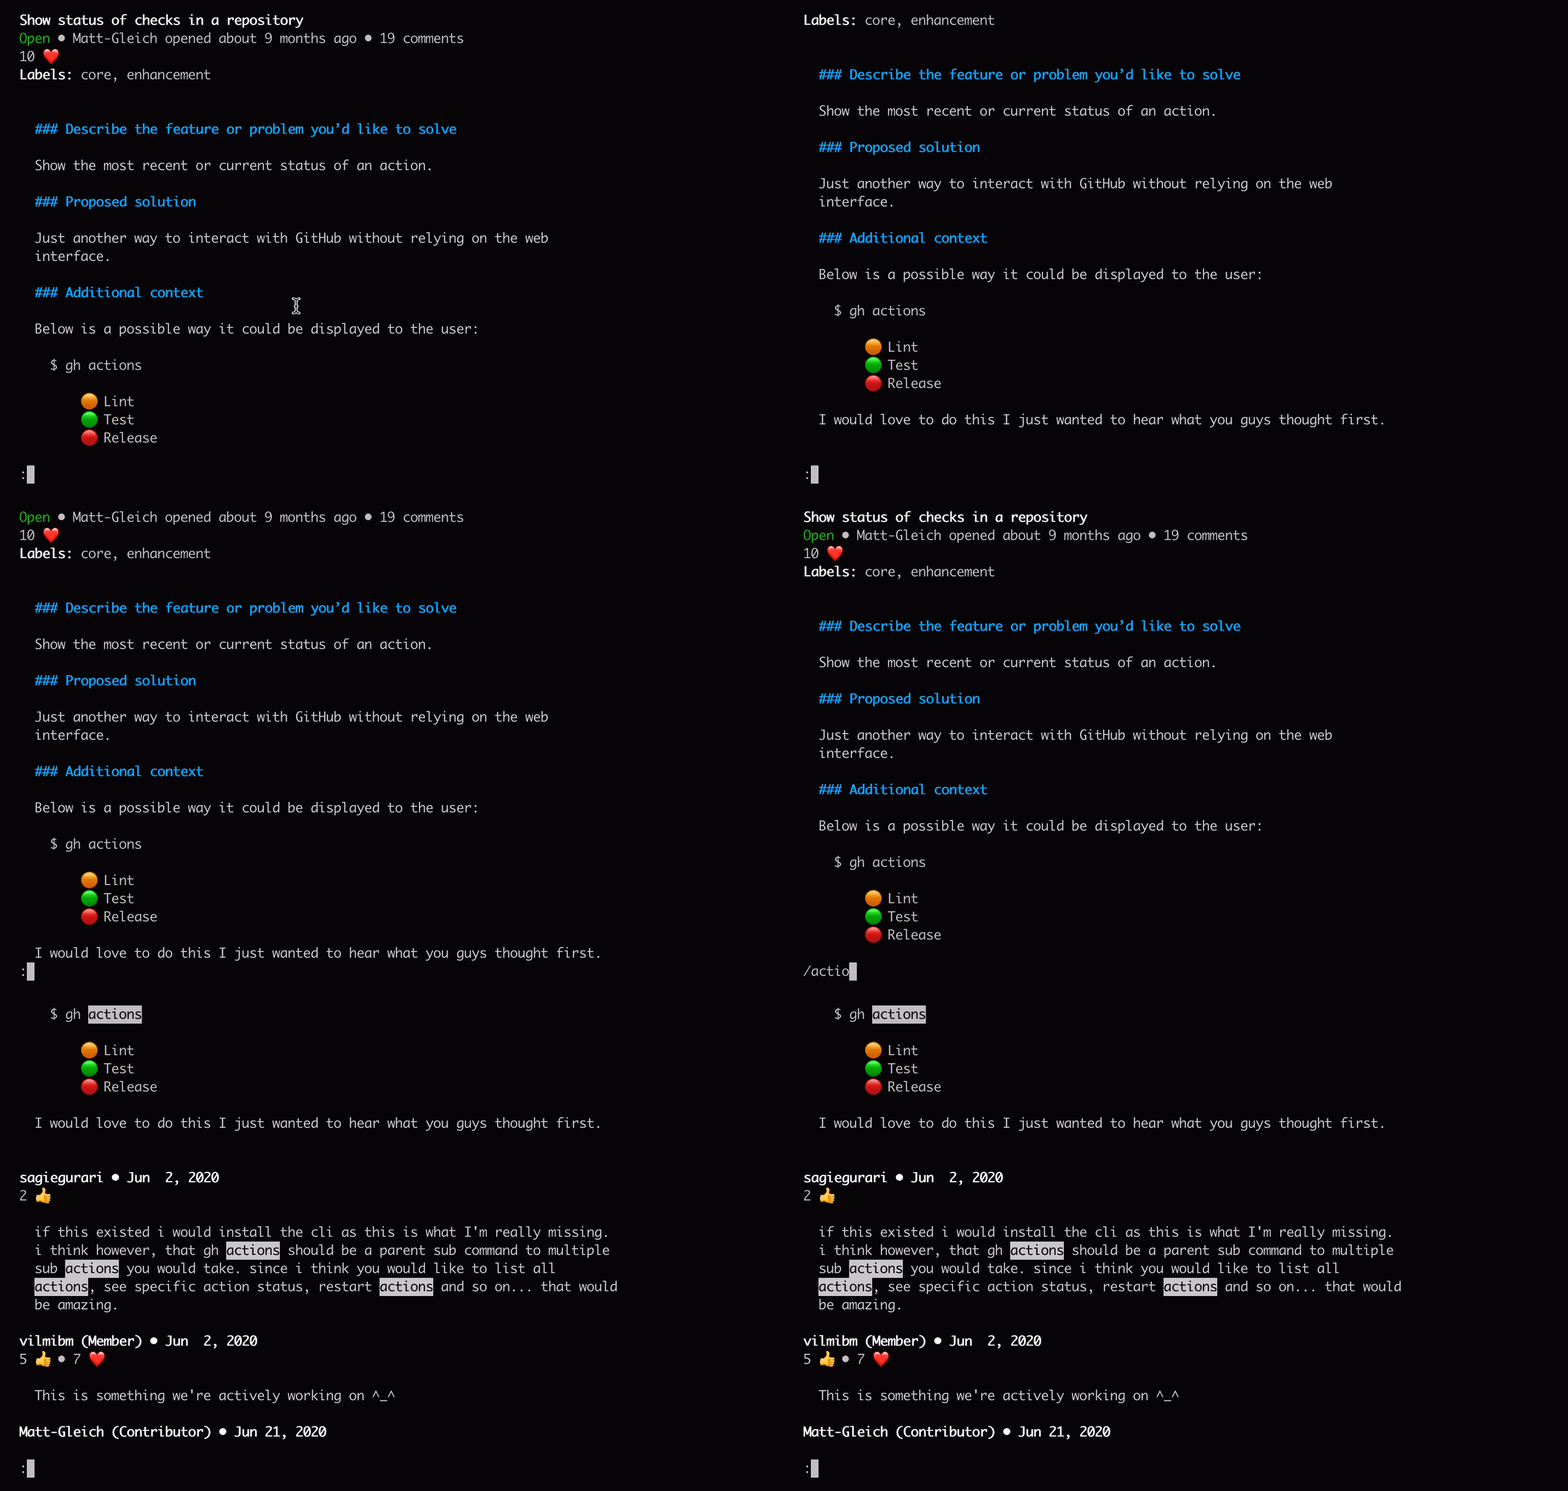
The less pager allows moving up/down with keyboard keys and searching within the output by typing “/”. To exit the pager, press “q”.
Compatibility note for Windows users: if you would like to follow along with these examples, enter the commands from within Git Bash that comes bundled with Git for Windows.
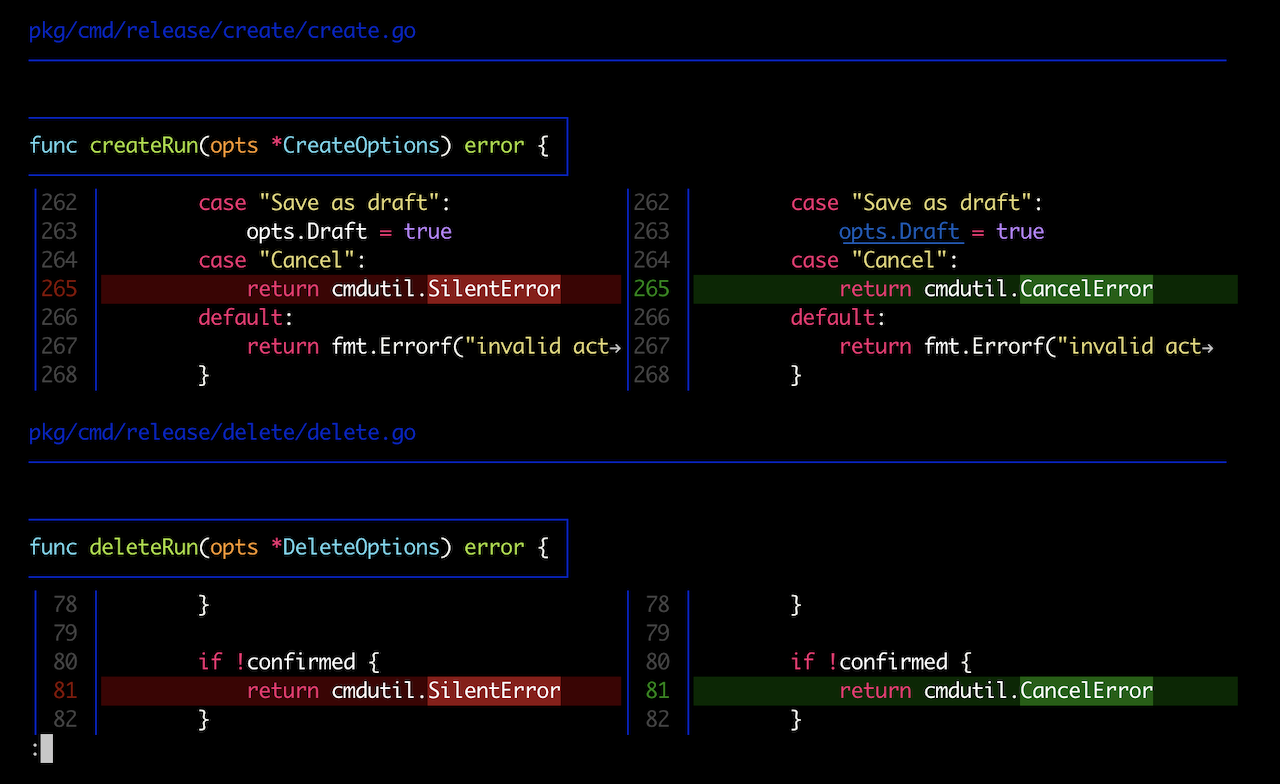
In addition to common pagers like less, there are pagers for specific purposes as well. For instance, delta is a utility to format git diff output. After installing it with Homebrew or another package manager of your choice, we can use it to view changes in a pull request as a split diff:
$ brew install git-delta

$ PAGER='delta -s' gh pr diff https://github.com/cli/cli/pull/3023

Finally, to define a pager for all gh commands by default, you can set a configuration option:
$ gh config set pager 'delta -s'After this, long output from gh commands should no longer be an issue.
Combine gh with other tools
The gh pr list command prints open pull requests for the current repository. However, to search for a specific item and act on it, you might need to scan through the entire list. Selecting a specific item from the list might be easier with the help of fuzzy-finder tools such as fzf:
$ brew install fzf

$ gh pr list | fzf
#=> [selected item]

The fzf utility allows interactively filtering the input stream and prints the selected line as its output. After that, we can isolate just the pull request number from the output using cut and forward it as an argument to another gh command. For example, here’s an alias to be able to quickly checkout a pull request from the list of open ones:
$ gh alias set co --shell 'id="$(gh pr list -L100 | fzf | cut -f1)"; [ -n "$id" ] && gh pr checkout "$id"'

$ gh co
#=> [checkout the selected PR]
In general, when gh detects that its output is piped to a script as opposed to being printed in the terminal, it tends to format the output in a more machine-readable format: fields are tab-delimited; we no longer truncate any text; and, there are no escape sequences for color in the output. This enables scripts to receive and have full control over raw data from gh.
Using gh in GitHub Actions
GitHub CLI comes pre-installed in GitHub Actions virtual environments. If no existing Action exists on the Marketplace to perform a specific task, you may be able to script a workflow using GitHub CLI.
For example, this workflow step will mark every new pull request to be automatically merged when all the requirements are met:
steps:
  - name: Enable auto-merge for new PRs
    run: gh pr merge --auto --merge "$PR_URL"
    env:
      PR_URL: ${{github.event.pull_request.html_url}}
      GITHUB_TOKEN: ${{secrets.GITHUB_TOKEN}}
This approach could be expanded to only mark some pull requests to be automatically merged; for example those opened by core team members in an open source project.
Another workflow automatically creates a GitHub Release for every git tag and uploads build assets to it:
- name: Create a release and attach files
  run: |
    tagname="${GITHUB_REF#refs/tags/}"
    gh release create "$tagname" dist/*.tgz
  env:
    GITHUB_TOKEN: ${{secrets.GITHUB_TOKEN}}
You can view the full workflow setup for these examples here. As long as GITHUB_TOKEN is set in the Actions environment, gh conveniently enables scripting scenarios. Furthermore, should your script need to write to repositories other than the current one, you can generate a Personal Access Token and add it to the repository using gh secret set.
Access anything with gh api
For operations that GitHub CLI currently does not have its own dedicated commands, there is always the GitHub API. Inspired by curl, the gh api command can perform any REST or GraphQL operation and handle tasks like authentication, parameter serialization, and decoding JSON for you.
For example, let’s say we want to answer the question: which of the issues in an organization-owned repository involve members of a specific team? In GitHub search terms, involvement in an issue means that a member either commented, was mentioned, or got assigned to one. A search query to answer this question would be something like: is:issue is:open involves:user1 involves:user2, but since teams can change over time, we would need to construct that query dynamically.
Let’s start by listing all members of an organization team. With curl, the request would be something like:
$ curl https://api.github.com/orgs/MYORG/teams/TEAM/membersWith gh api, we get pagination and response caching for free:
$ gh api -X GET 'orgs/MYORG/teams/TEAM/members' -F per_page=100 --paginate --cache 1h
[
  {
    "login": "user1",
    "id": 1234,
    ...
  },
  ...
]
Now we are getting somewhere, but raw JSON output can be unwieldy to use from shell scripts. By adding a jq filter expression, we can select only the fields we want, for example all the user login handles:
$ gh api ... --jq '.[].login'
#=> "user1"
#=> "user2"
#=> ...
By modifying the expression slightly, we can get all members listed in a format that resembles the search query that we want:
$ gh api ... --jq '[.[].login] | map("involves:\(.)") | join(" ")'
#=> "involves:user1 involves:user2"
In the final step, we can pass that into a final query that we list the results of:
team-involves() {
  gh api -X GET "orgs/$1/teams/$2/members" \
    -F per_page=100 --paginate --cache 1h \
    --jq '[.[].login] | map("involves:\(.)") | join(" ")'
}

gh api -X GET search/issues -F per_page=100 --paginate \
  -f q="repo:MYORG/REPO is:issue is:open $(team-involves MYORG TEAM)" \
   --jq '.items[] | [.number, .title] | @tsv'

#=> "456  Issue title"
#=> "123  Another issue"
#=> ...
The final output lists the number and title for each matching issue, one per line. Of course, more properties may be printed by expanding the jq expression. For the list of all available properties on an issue, see the API documentation.
Install GitHub CLI
GitHub CLI is a versatile tool to build your workflows with. Install the latest version today.
If you come up with something that you would like to share, please do so in the CLI Discussions section. We’d love to see it!
Tags:
Written by
Related posts

How GitHub engineers tackle platform problems
Our best practices for quickly identifying, resolving, and preventing issues at scale.

GitHub Issues search now supports nested queries and boolean operators: Here’s how we (re)built it
Plus, considerations in updating one of GitHub’s oldest and most heavily used features.

Design system annotations, part 2: Advanced methods of annotating components
How to build custom annotations for your design system components or use Figma’s Code Connect to help capture important accessibility details before development.